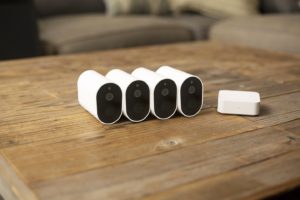
This article explains how to set up your IMILAB EC2 wireless outdoor security camera. The capabilities of the rechargeable built-in batteries mean that you don’t have to worry about running power cables anymore. The IMILAB EC2 camera is completely wireless.
Step 1: Power up the Gateway
Plug in the Gateway with the supplied USB power cord. A little orange light in the front will go on. When the orange light starts to flash, it means that the Gateway is ready to connect to your WiFi.
Step 2: Download the App
Please download the Mi Home App from the Playstore and create an account for yourself.
Step 3: Setting up the Gateway
1. Open the App. Tap the bottom left Mi Home icon.
2. Tap the top right hand “+” icon. A pop up will ask you to “turn on Bluetooth to find devices nearby?”, press cancel.
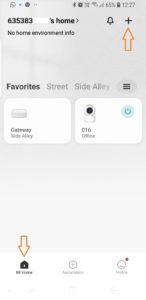
3. At the top right-hand corner, tap the scan icon [-]. Scan the QR code on the bottom of the Gateway (not the camera).
![]()
4. Follow the prompts on the App and add your WiFi network account and password.
-
-
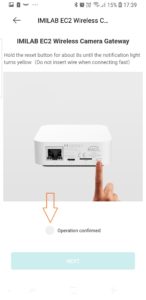
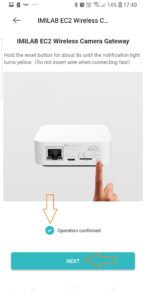
If the blue light is flashing, hold the reset button on the back of the Gateway for 8 seconds. When the orange light starts flashing, tap the “Operation confirmed” button. A little blue tick will show up. You can then push “NEXT”
-
-
-
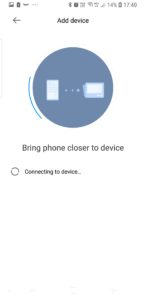
Select you WiFi network and wait for the device to connect.
-

-
-
Select a room.
-
Rename device.
-
Follow the rest of the prompts.
-
5. When the little light on the front of the Gateway turns solid blue, the gateway is connected to your WiFi.
Step 4: Add the camera
1. Tap on the add camera button. If you are coming from the home page on the App, tap the Gateway and them add a camera.

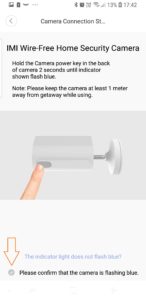
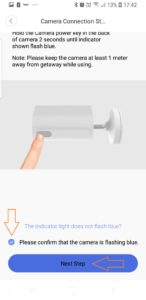
2. Hold the power button down for two seconds and then wait for the blue light on the front of the camera to flash.
3. Label the camera i.e. “EC2 front garden”.

Mounting the camera
Before mounting the camera, first make sure it is within your WiFi range. You can do this by checking the live view on your App. If you are getting a picture, it is within range.
If possible, try to mount your camera in an area where it has some protection from the weather. The camera is IP66 waterproof, but protection from the elements does help.
Don’t mount the camera so low that it can be bumped or vandalised easily.
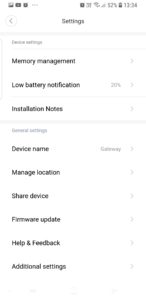
To make setting changes to the Gateway
Tap on the three dots at the top right-hand corner. Select your option from pop up menu as shown below.

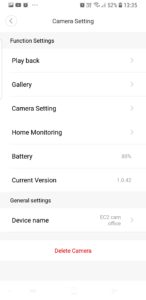
To make setting changes to the individual camera
Tap on the three dots at the top right-hand corner of the camera screen. Below is the menu of options.

How to share the camera/s with other users.
Ask the person that you want to share the cameras with to download the Mi Home App and create an account.
Go to the Gateway
Tap on the three dots at the top right-hand corner.

Select the “Share devices” option on the menu.
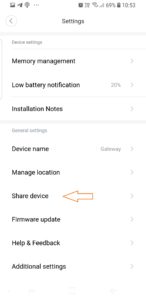
Tap on the Mi Account icon.
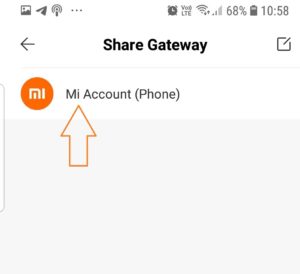
Enter the cell number or email address that the person created their Mi Home account with. Then press OK.


