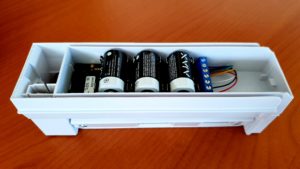
By using the Ajax Transmitter, one can easily integrate 3rd party outdoor sensors into the Ajax system and have full control with the Ajax App.
This article explains how to integrate an Optex outdoor fit beam (5 meter mini sensor).
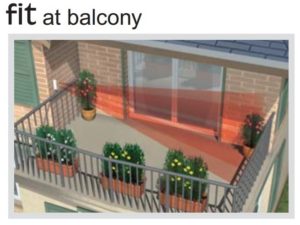
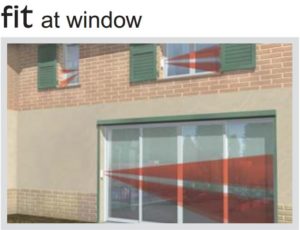
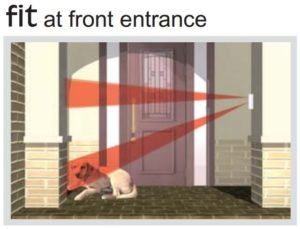
The Optex outdoor wireless FIT FTN has a range of 5 meters, making it perfect for protecting precise areas such as doors and windows at ground and multi-storey levels.
STEP 1
Take the Ajax transmitter (foreground) and the wireless Optex fit beam (background) out of their individual packaging.
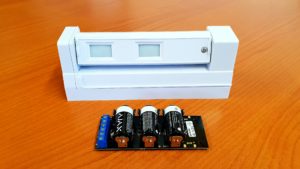
STEP 2
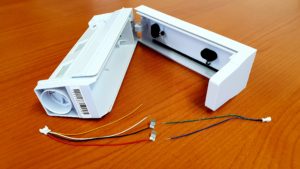
Open the back cover of the Optex fit beam. Here you will find two groups of wiring with a white connector on each end.
Group of wires “A” has a red, a white, a yellow and a black wire. Group “B” has a blue and green wire.
STEP 3
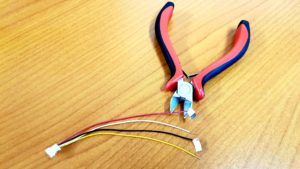
Take group “A” and cut off the small metal tabs on the black and red wires.
The wires should now look like the photo below.
STEP 4
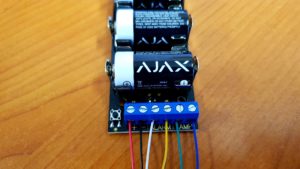
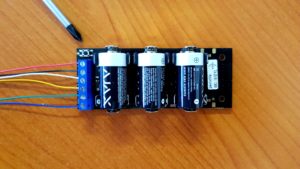
Connect the wires from group “A” and “B” to the Transmitter as shown in the photo on the right. Red into positive (+), black into negative (-), yellow and white into ALARM and green and blue into TAMP.
STEP 5
Scan the QR code on the Ajax Transmitter with your smartphone, using the Ajax App. Label the device on the App and then press the little black button on the transmitter to connect the device to the Ajax hub.
STEP 6
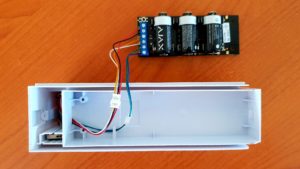
Insert the two white connectors from the Optex fit beam into the two white connectors from the Ajax transmitter.
STEP 7
Now insert the Ajax Transmitter into the back of the Optex fit beam. Make sure that the transmitter is “sitting” at the bottom of the cavity for a nice fit, as shown in the adjacent photo.
Put the back cover on the fit beam and mount the beam on the wall according to the fit beam instructions in the box.
Don’t forget to set the Tamper Status on the App (Devices, Ajax Transmitter, Settings), as “Normally Closed” and the External Sensor Supply as “Always enabled”.

